Well Repair
When determining the actions to be taken on an existing well, several options are reviewed and we will work with you to determine the best option.
Casing Extension
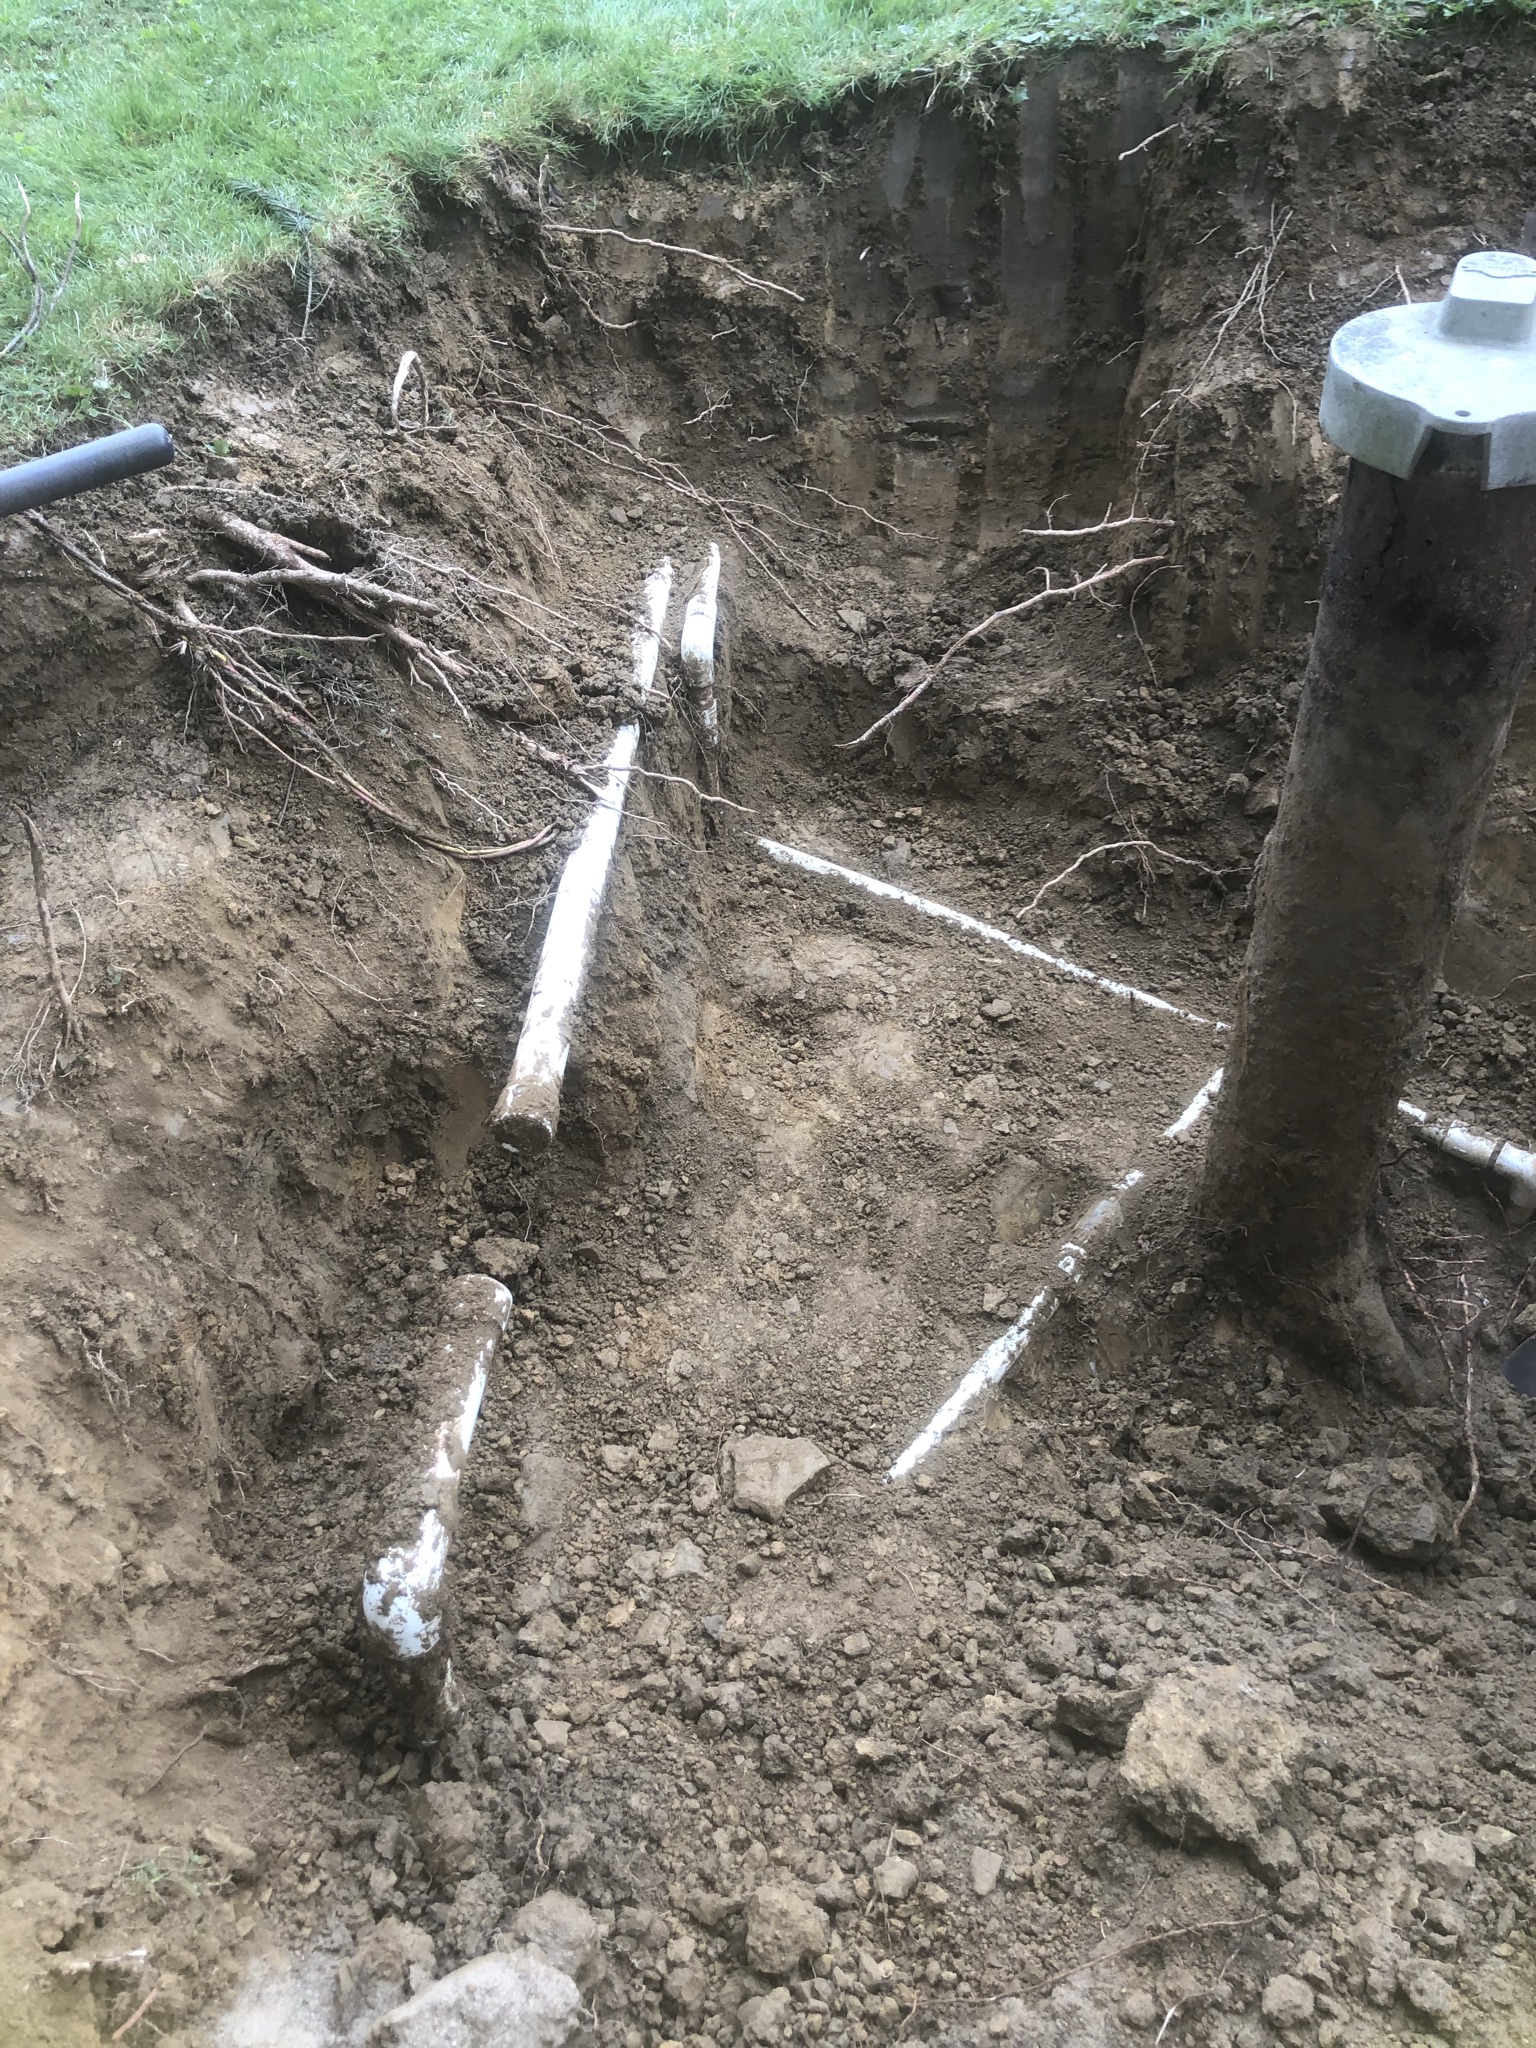
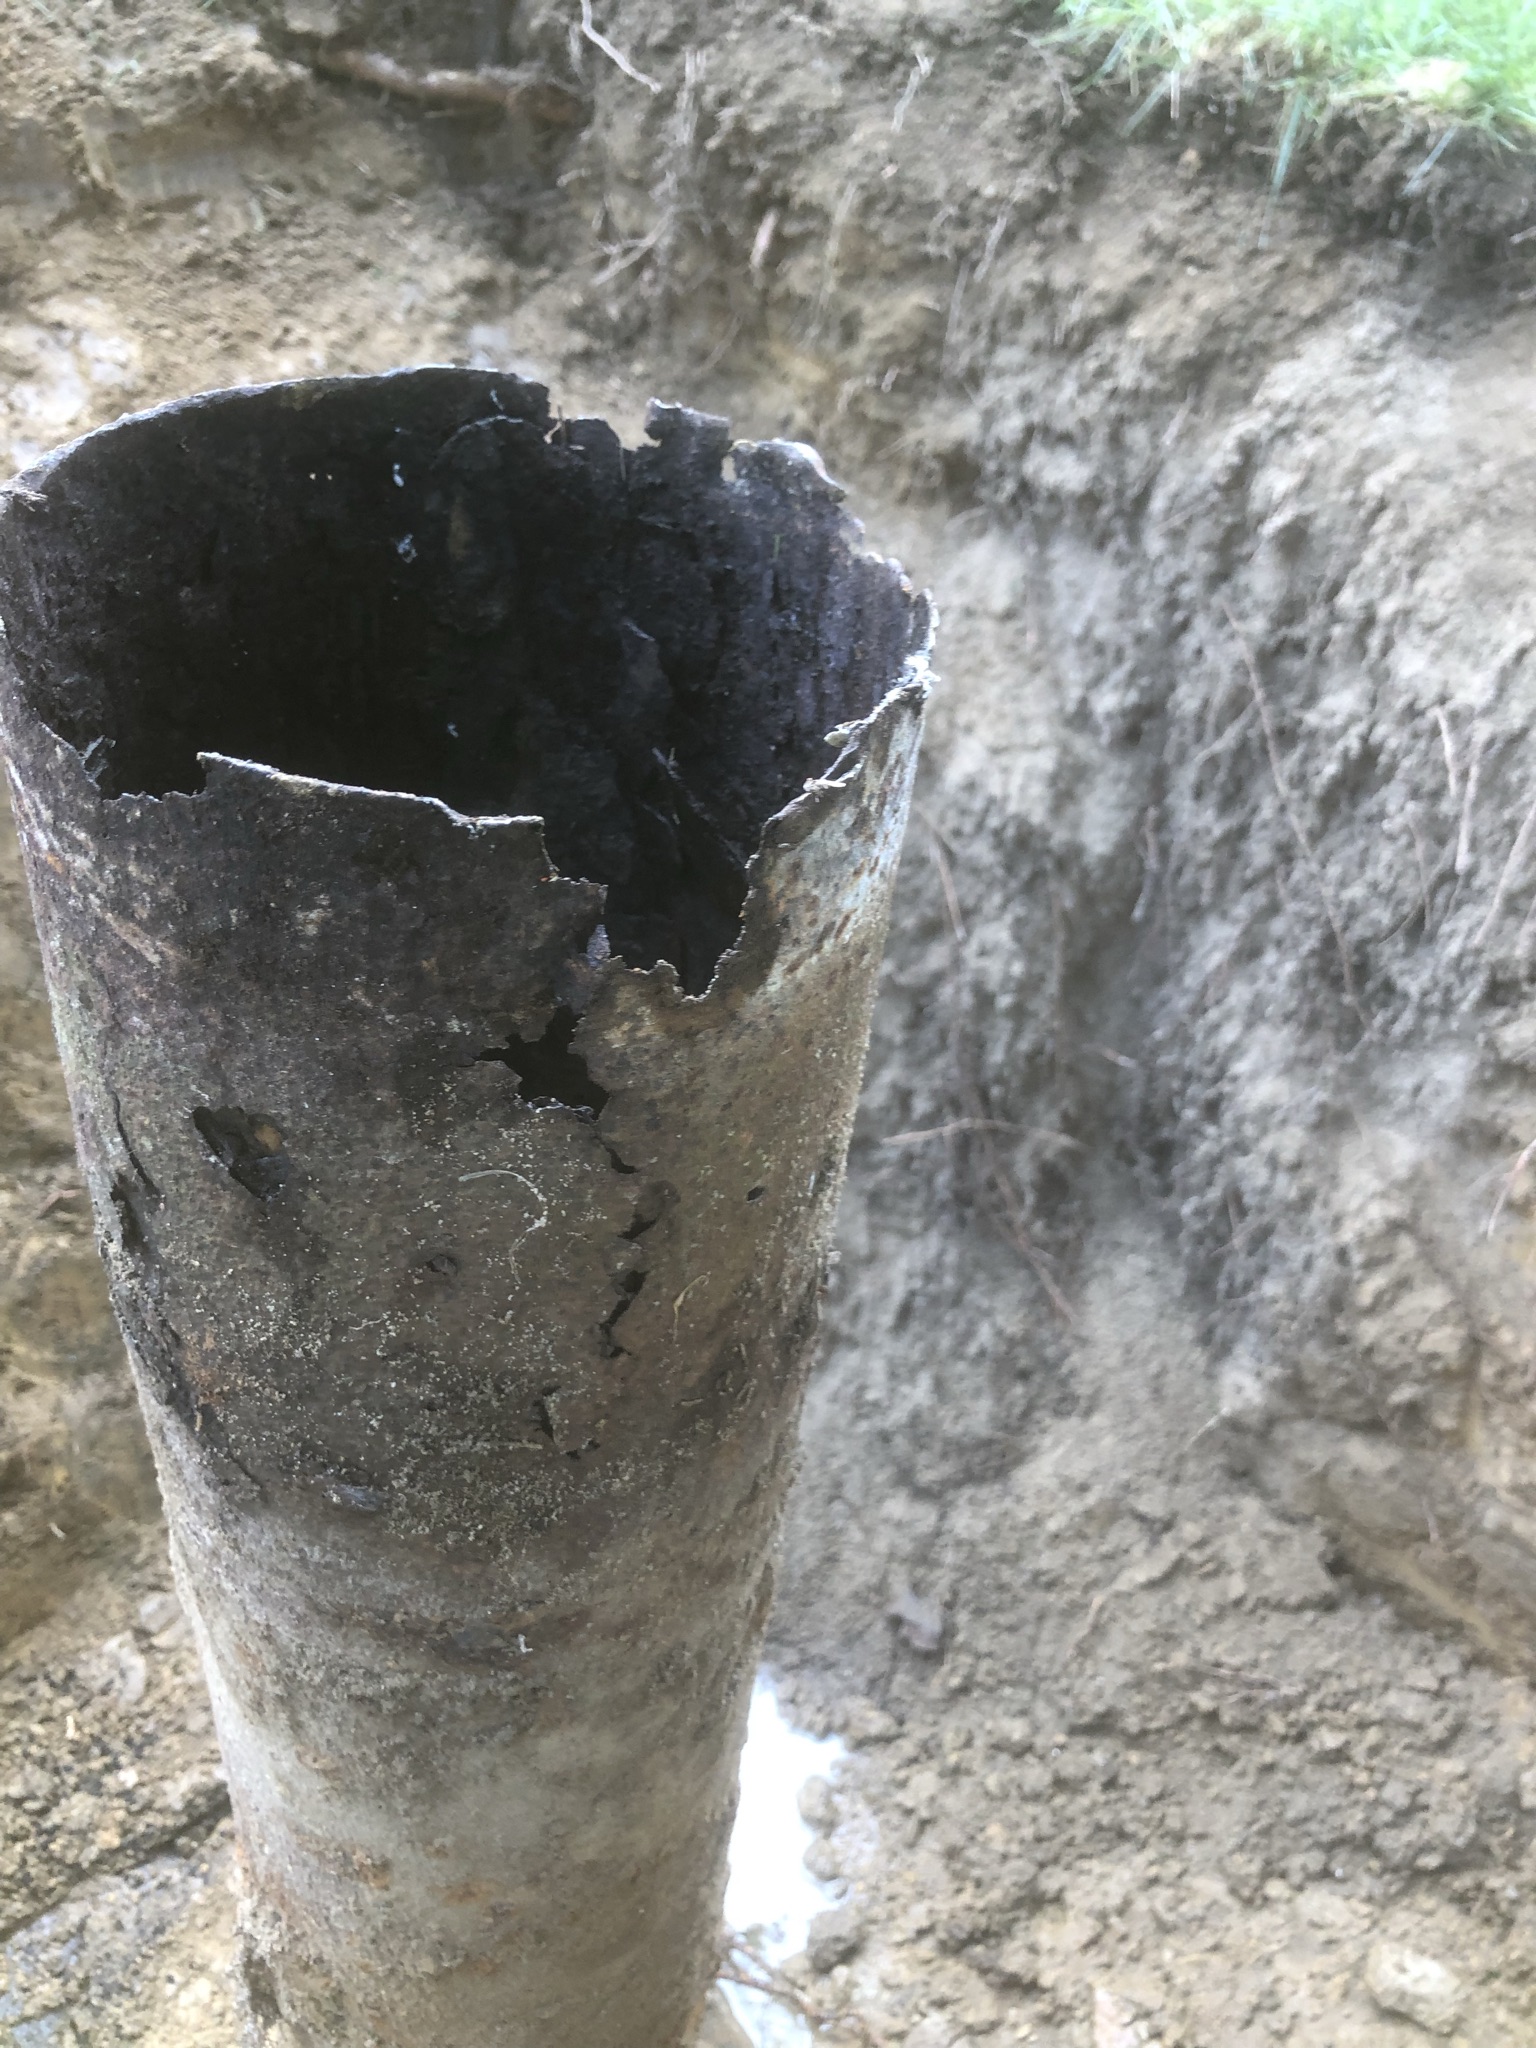
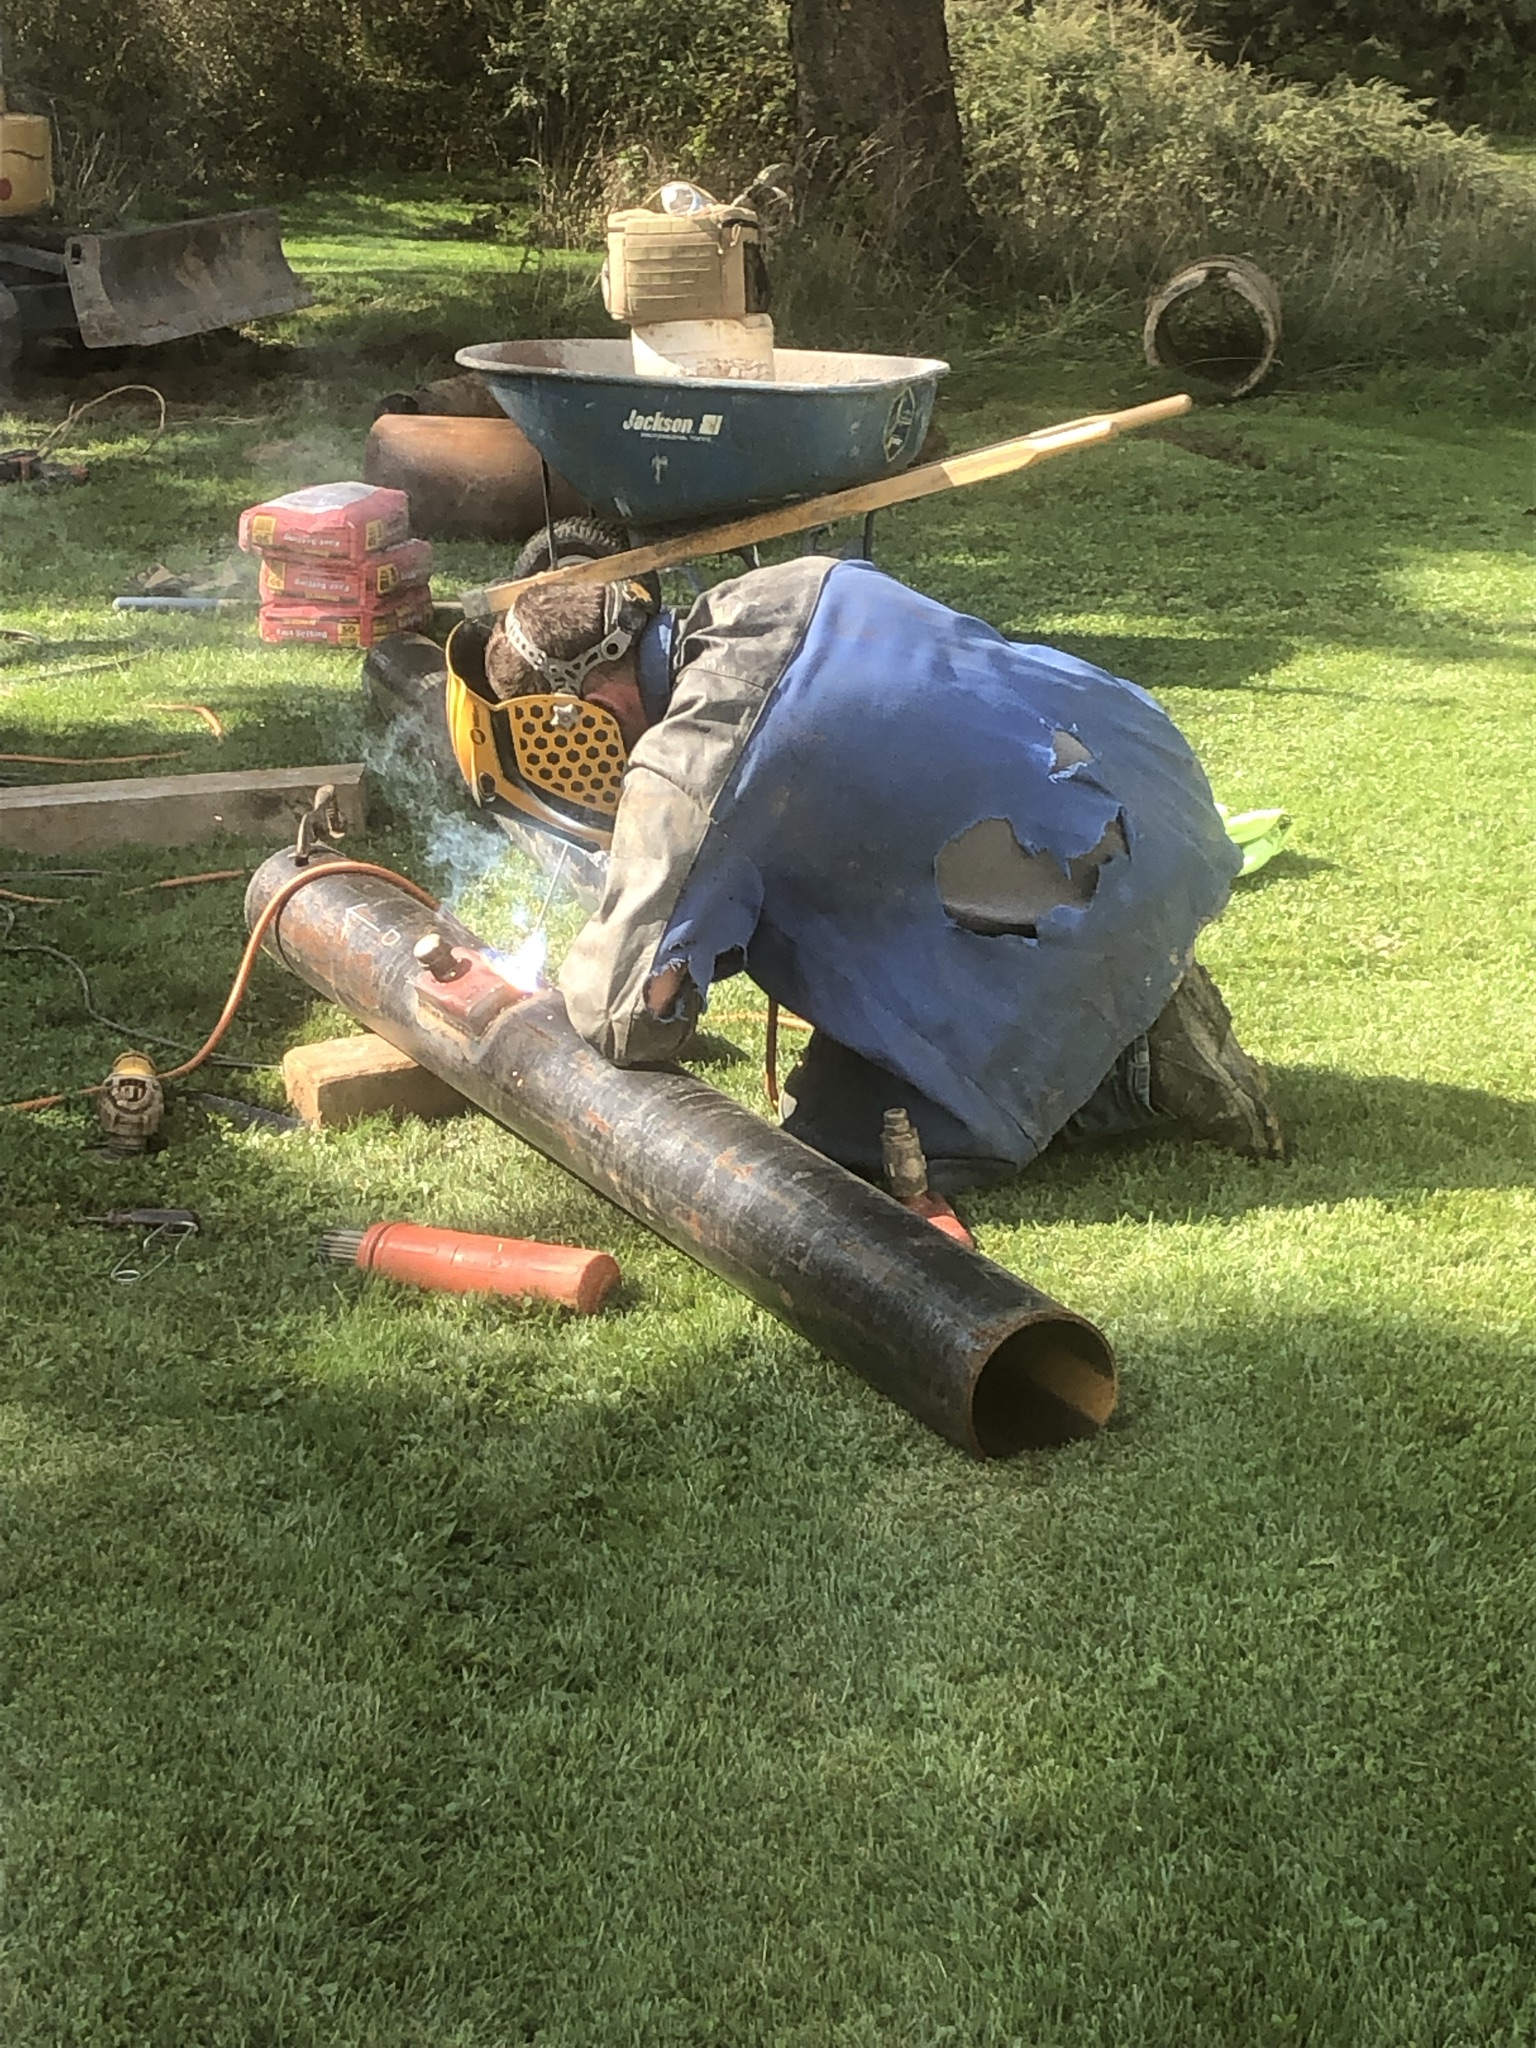
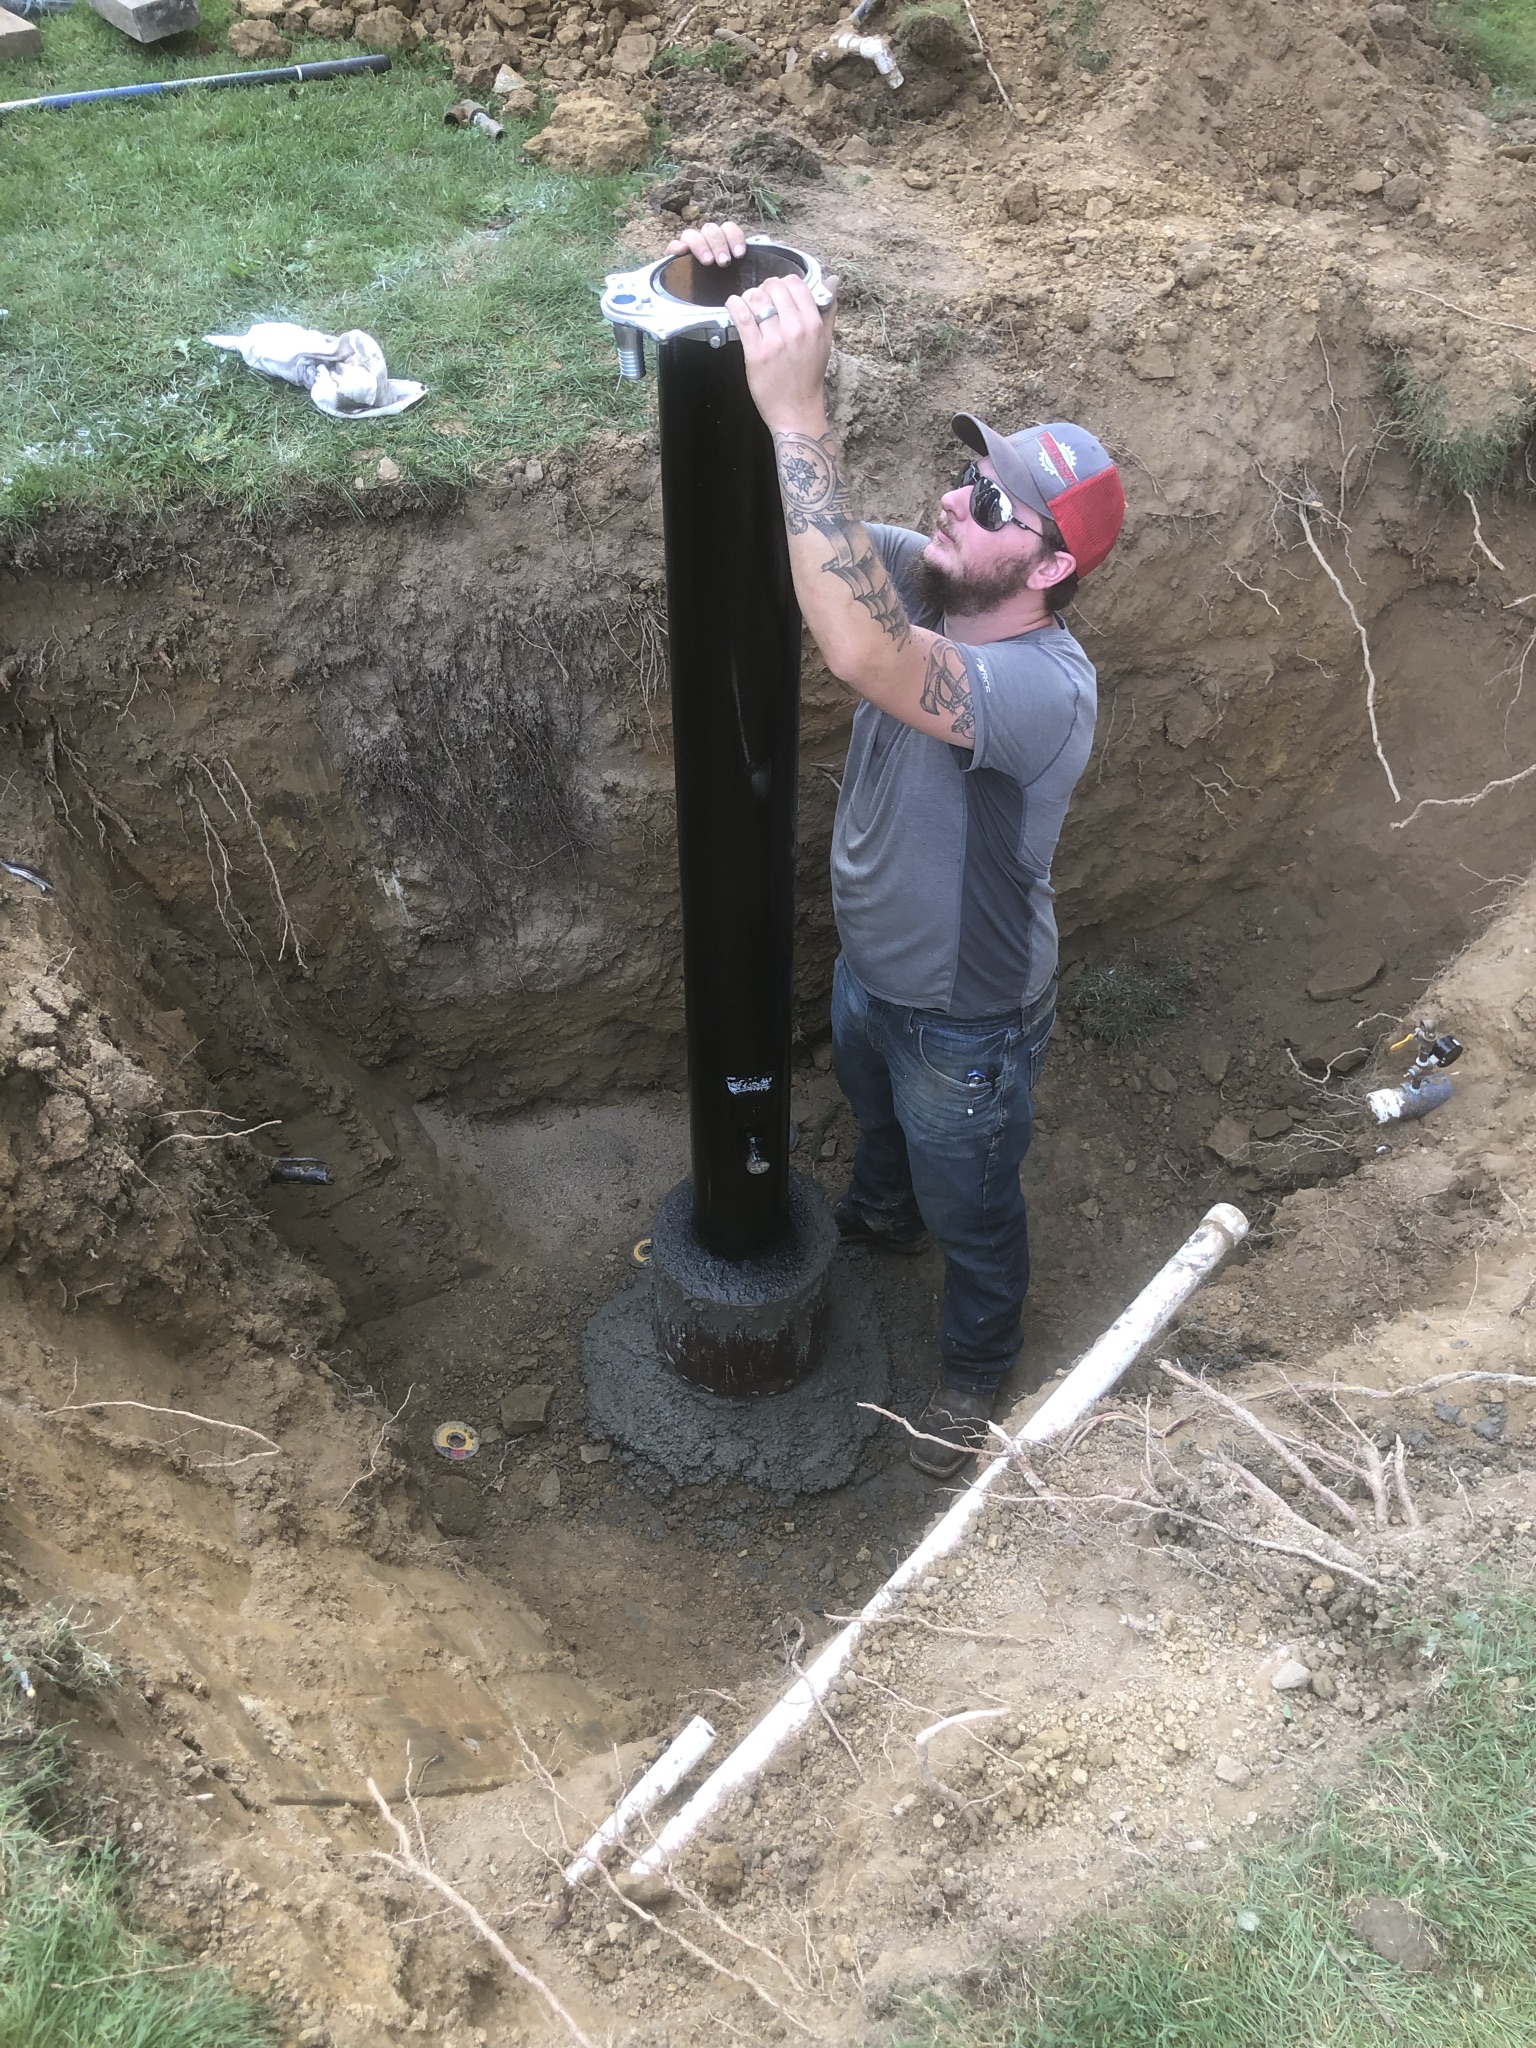
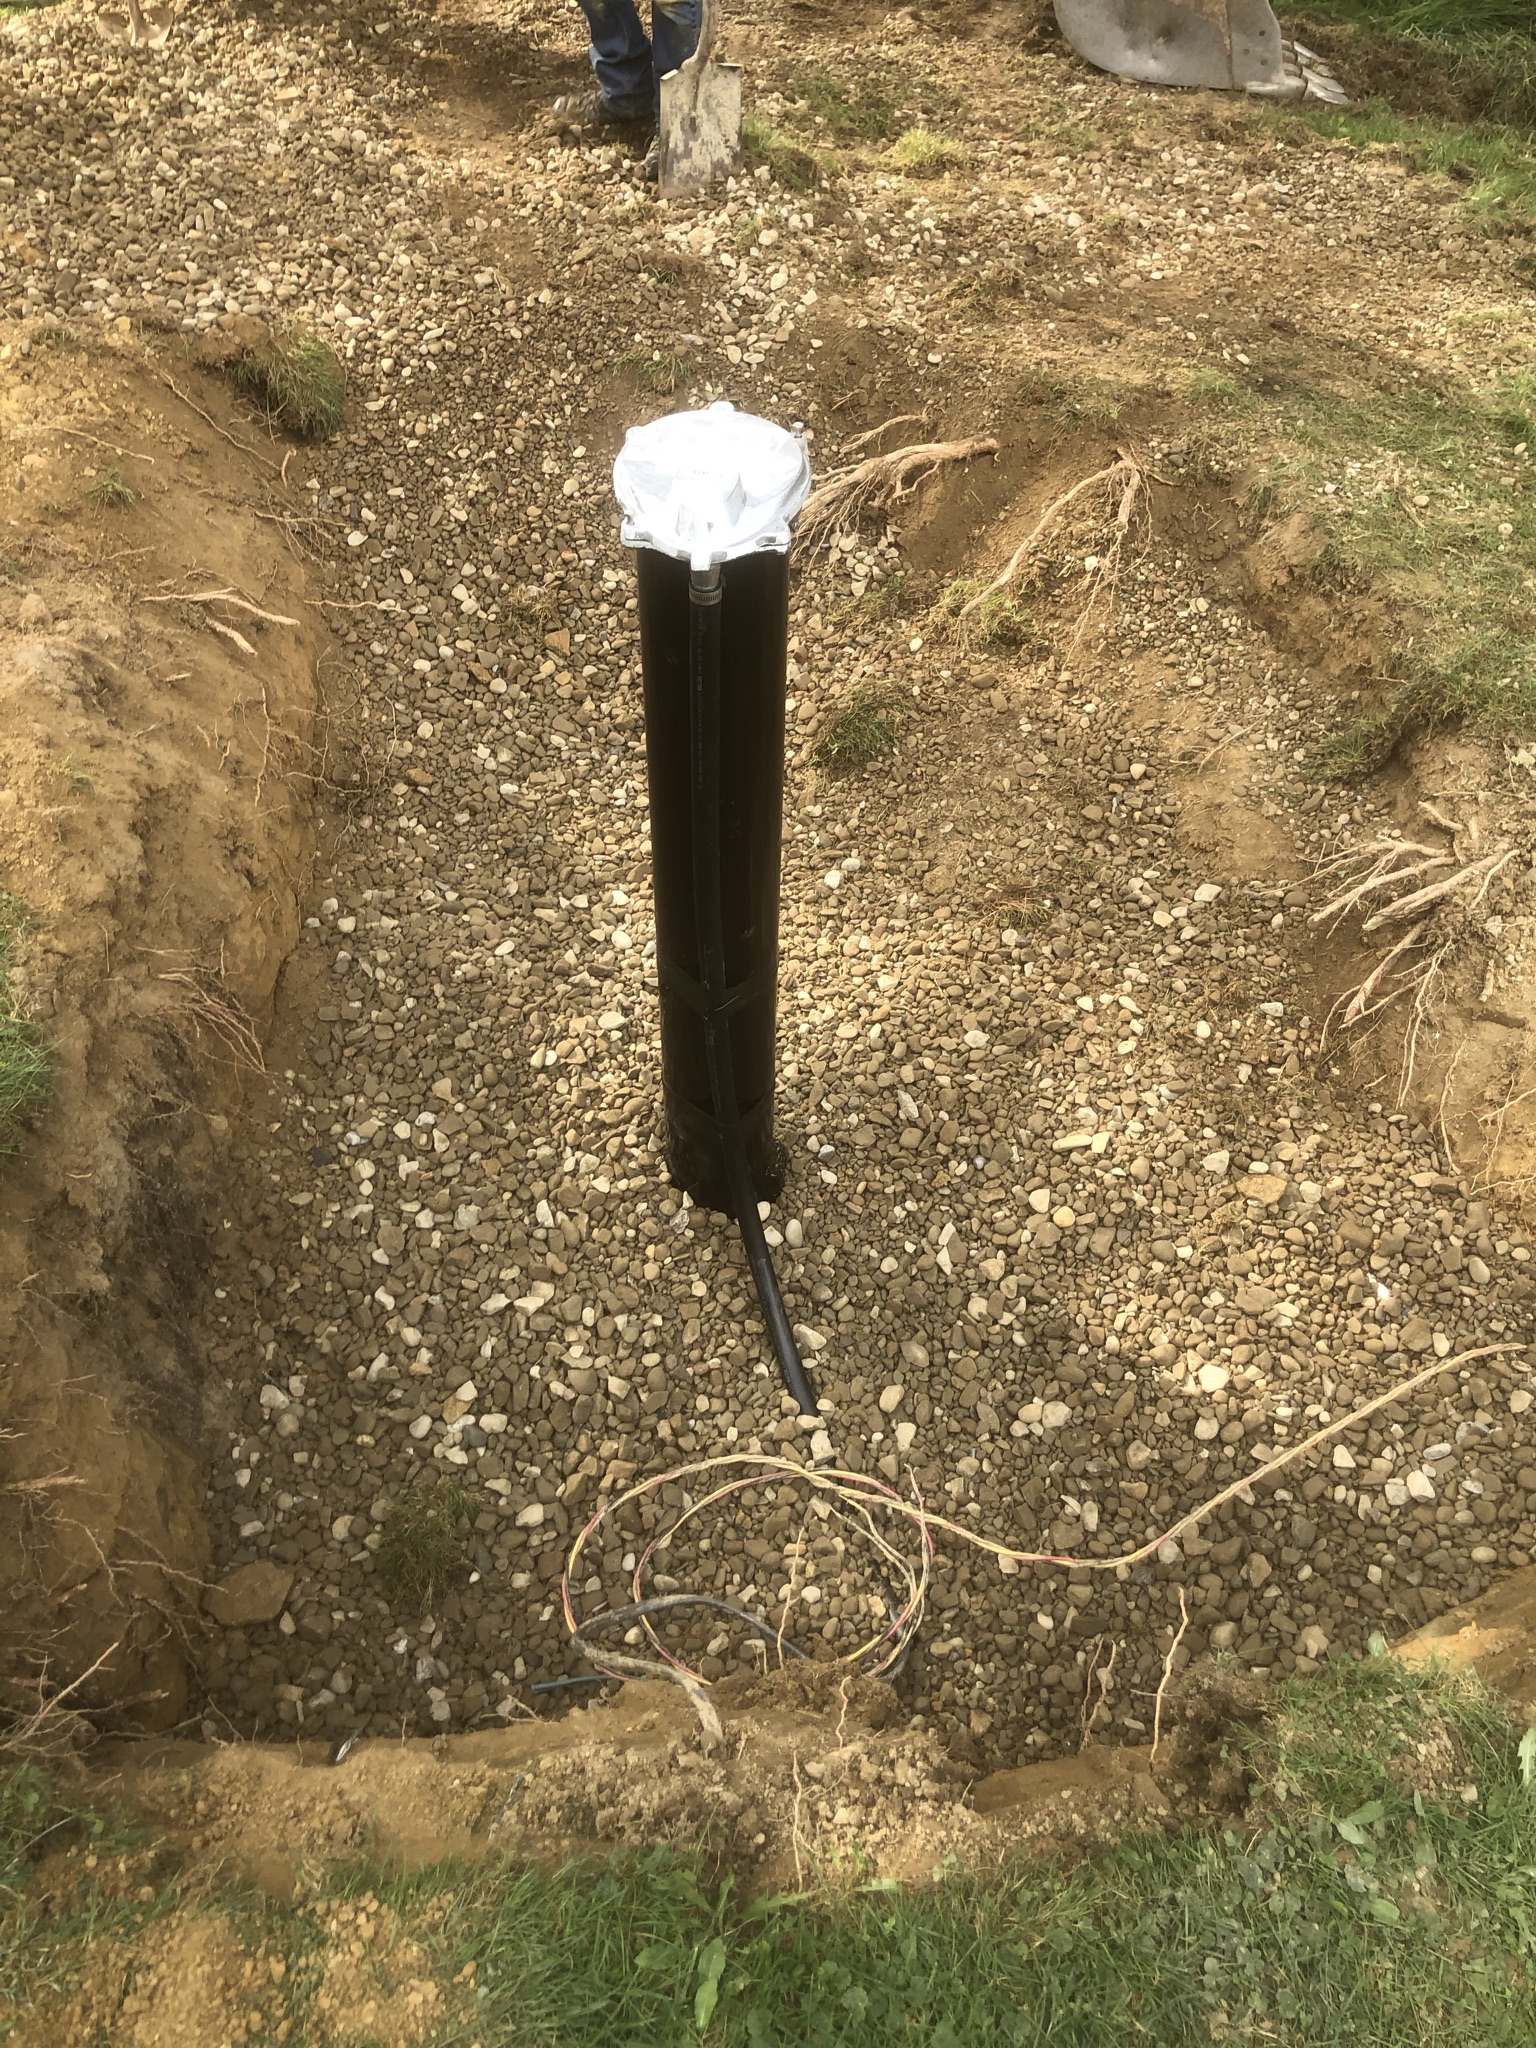
On wells that are buried, we often extend the casing above ground level while the pump is being serviced. This makes future service to the well much easier, and eliminates the cost of digging up the well head in the future. Once we have the well head dug up, we pull the pump from the well. A piece of casing is welded onto the existing well and a pit-less adapter is added to that piece. The pump is installed into the well and an insect-proof well cap is added to the top.
Casing Extension – Start to Finish
Well Clean-Out
On existing wells that have lost their flow over the years, we offer a well clean-out service. We surge the water in the well in and out of the aquifer to restore the original flow. The scale is knocked off of the sides of the well, and any mud or scale that has accumulated on the bottom of the well is bailed out. If required, the well can be drilled deeper at this time, and/or an inner casing can be installed.
Inner-Casing Installation
When the existing casing has failed, or upper water flows need shut off, we recommend the use of an inner casing on 6” and larger wells. On wells smaller than 6” there is no room to get the inner casing in the well and still make the seal on the packer. Inner casings are a minimum of 4” schedule 40 PVC well casing that is set on the bottom of the well. A packer is placed on the casing to seal off the upper water flows. Clay is poured on top of the packer to ensure a good seal. The casing is perforated below the packer to allow the desired water flow into the well.
